
somehow I don't think they'll go back together
as easily as they came apart...
Duh...!
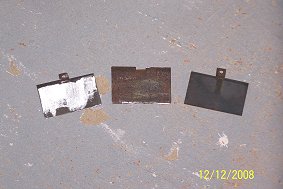 |
 the other two nuts have been cleaned. |
 |
 |
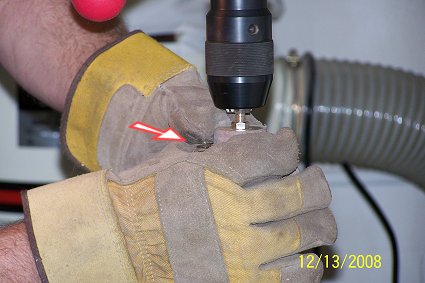
The springs were tricky; I ended up chasing the first few all over my shop when they worked their way free from my grip. I finally figured, as shown in the third photo (immediately above) that if I held the spring against the sanding drum cupped in the fingers of, and seated on the heel of, my right hand, and secured it with my left thumb, the spring would rotate against the drum in a counterwise rotation and would be cleaned very quickly.
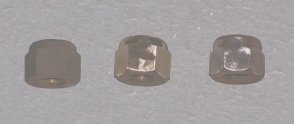
The nuts were pretty straightforward, but there are indentations around the top which I had to clean out with a piece of fine grit sandpaper folded once to form a sharp crease that would fit into the grooves. I still missed a litle, but the nuts look a heck of a lot better than they did before I started.
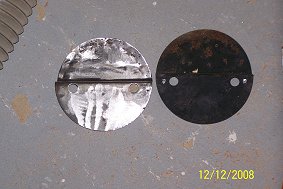
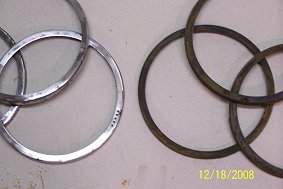
Next were the outer lens retaining rings. Also done on my drill press/sanding drum setup, it took about 30 minutes to do all eight rings. However, the condition of one of the rings is so bad that the metal has completely corroded away at some points (when I first saw it, I thought it was merely blistered paint) exposing the rubber gasget beneath (see pictures below).
 |
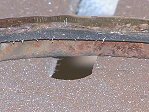 to the point that the rubber gasket is exposed. |
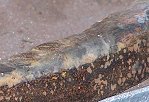 metal of the corroded ring. |
 |
Several of the rings are in seemingly almost-new shape and cleaned up very nicely; others, however, show their age with heavy pitting. Either way, they're ready for repainting.
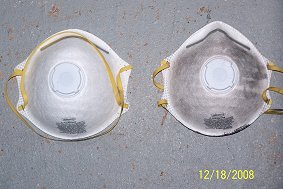
[The photograph of the two masks indicates just how dirty a job refurbing can be: the mask on the left is brand new; the mask on the right was worn only to clean the eight outer retaining rings.]
Next are the shades. These should be interesting...they're huge, in surface area, compared to what I've done thus far.

 Continued...
 Back to Mike's Railroad Page